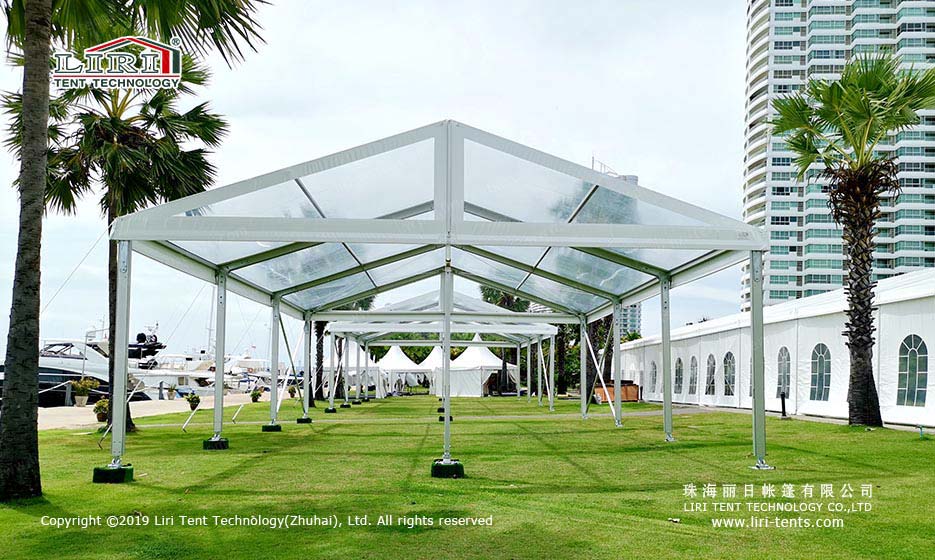
Knowing how to set up a party tent correctly determines if your event runs smoothly. This guide walks through preparation, ground assessment, and fixing methods for a safe, stable installation.
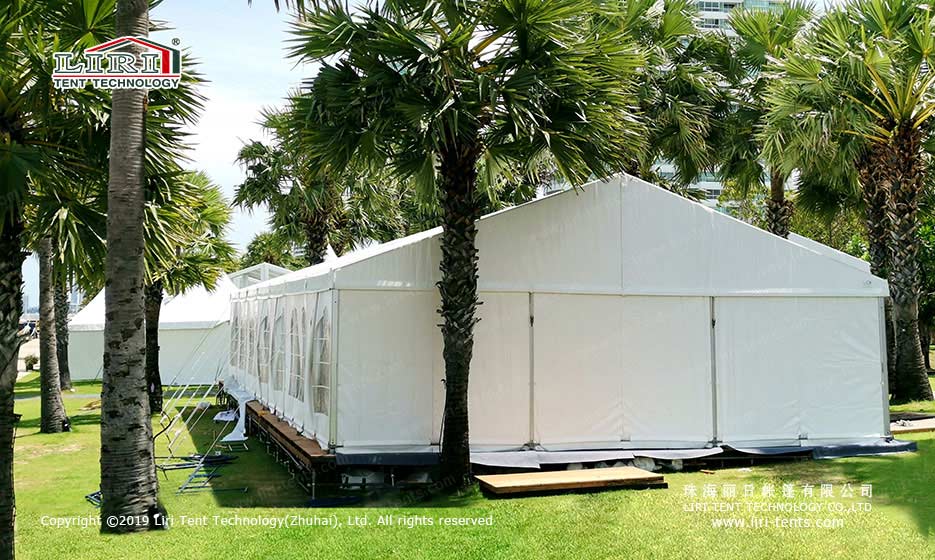
Site Preparation Before Setup
Clear the ground of rocks and debris a day before setup. Mark underground utilities with flags. A call to your local utility locator service is a free precaution that prevents costly damage.
Measure the tent footprint and add three feet clearance on each side for guy lines. Check overhead clearance for tree branches and power lines. Low-hanging branches that look harmless at ground level become problems once the frame goes up.
Understanding Ground Types and How They Affect Setup
Party tents can be erected on most common ground surfaces — sand, lawn, asphalt, concrete, and tile floors all work. But each surface demands a different fixing method to keep the tent secure. Choosing the wrong method for the ground type is the most common setup mistake, and it leads to tents shifting or collapsing under wind load.
For outdoor party tent installation tips, the ground condition determines both the fixing method and the crew size needed. Hard surfaces like concrete require power tools and expansion bolts. Soft ground needs long steel pegs driven deep. The rest of this section breaks down each method so you can match the approach to your site.
Concrete Floor — Temporary Bolt Fixing
On concrete or asphalt surfaces at least 25 centimeters thick, expandable bolts through the tent base plates provide a solid temporary anchor. Drill pilot holes with a masonry bit, insert the expansion anchors, and tighten the bolts using a socket wrench. A tent measuring 10 by 20 meters needs roughly 12 to 16 anchor points — one at each corner and evenly spaced along the perimeter frame.
The downside is that expandable bolts leave holes in the concrete. For rented venues like parking lots or plazas, check with the facility manager before drilling. If the ground cannot be damaged, use the weight-plate method instead. After removing the tent, fill the anchor holes with quick-setting concrete patch compound and smooth the surface flush.
Lawn or Soil — Steel Peg Ground Anchors
Soft ground types — grass, soil, sand — call for steel pegs (ground anchors) driven at a 45-degree angle through the base plate holes into the ground. Use pegs at least 45 centimeters long for standard frame tents and 60 centimeters or longer for large structures. A sledgehammer drives the pegs in, but an electric hammer drill with a peg-driving attachment saves time on setups with 20 or more anchor points.
The angled drive direction is important — pegs driven straight down pull out more easily under upward wind force on the tent roof. After the event, pull the pegs with a claw hammer or peg puller and backfill the small holes with topsoil. This method leaves minimal trace and works well for outdoor tent setup guide and park events where preserving the landscape matters.
Damage-Free Ground — Weight Plate System
Marble, tile, polished concrete, and other delicate surfaces cannot be drilled or staked. The weight-plate method uses flat steel plates that sit under the tent base, loaded with sandbags, concrete blocks, or water barrels to hold the tent in place. Each anchor point needs 40 to 80 kilograms of ballast depending on tent size and local wind conditions.
A 10×10 meter tent needs roughly 800 kg of ballast across 10 to 12 weight plates. The plates stack against the tent legs and can be covered with skirting. This method leaves the ground untouched — essential for high-end venues.
This method eliminates the risk of wind uplift and requires no ongoing adjustment of guy lines or ballast. The downside is that the foundation is permanent — removing the tent leaves a concrete slab behind. For large tent anchoring methods where the structure stays up for multiple seasons, the concrete base investment pays for itself through reduced labor and higher wind resistance.
Tent Frame Assembly Sequence
Sort frame components by type — base plates, uprights, roof trusses, cross beams. Most frame tents follow a consistent sequence: base plates first, leveled and spaced per the layout plan. Upright columns bolt into the base plates, then roof trusses connect the column tops. Cross beams create a grid that supports the roof fabric. Tighten all bolts finger-tight during assembly, then torque them fully after alignment.
Professional party tent assembly typically requires a crew of four to six people for tents up to 15 meters wide, and eight to twelve for larger structures. A 10×20 meter tent takes a skilled crew roughly four to six hours from unpacking to final tensioning.
Roof and Sidewall Installation
Drape the roof fabric over the assembled frame starting from one end along the ridge line. Attach fabric using bungee cords or hook-and-loop straps — start at corners and work toward the center. Tension the straps evenly; a properly tensioned roof shows no sags between trusses. PVC fabric relaxes slightly over the first 24 hours, so leave extra tension during setup.
Sidewalls install after the roof. Unroll each panel along the bottom, attach the top hem to the frame, then tension downward. Clear PVC panels go on the windward side. In strong wind, leave one or two side panels partially rolled up to allow air to pass through rather than press against the walls.
Post-Setup Safety Checks
Walk the entire perimeter after setup. Check every anchor point — bolts tight, pegs fully driven, ballast weights stable. Inspect the roof for standing water pockets (ponding) that indicate insufficient tension. Verify guy lines are taut and reflective markers are placed on any exposed lines near walkways.
Run a final interior inspection. Check for sharp edges on the frame at head height and pad exposed corners. Confirm electrical cables are routed away from walk areas and extension cord connections are raised off the ground. For large party tent installations, schedule a mid-event walk-through to re-tension fabric that has loosened as the material settles.